A useful next step after the demo
An app can look convincing in a walkthrough and still feel different in someone’s hand. A small test group gives the people who will use it a chance to try real journeys on their own iPhones and iPads, while the work is still easy to refine.
For a known group of client reviewers, our Xcode-to-Diawi workflow provides that handover: prepare a signed iOS build, share a private installation link and collect feedback against a specific version. It suits focused review rounds before wider beta testing or an App Store release.
One build, one connected review loop
Device registration and signing make the build installable. A private link gets it to the group; feedback stays attached to the version reviewed.

High-level workflow. Explore horizontally on smaller screens.
1. Agree what the group is reviewing
We start with the questions the next build should answer. Can a user complete the main journey? Does an updated screen make sense? Do photographs, saved work and synchronisation behave as expected away from a desk? A short review brief is more useful than an invitation to test everything.
We agree the testers, representative devices, test accounts, backend environment and known limitations. Staging data and accounts keep the review separate from live operations. Any test that genuinely needs production access is agreed explicitly.
- A named build and a short list of changes.
- A few practical journeys to try and the expected result.
- Known limitations, a feedback route and a review date.
2. Register the actual test devices
Ad hoc distribution is tied to devices. We collect each tester’s device identifier, or UDID, through an agreed method such as Finder or Xcode, and register it in the relevant Apple Developer account. An email address or phone number cannot replace that identifier. Testers do not need Xcode on their own computer.
We confirm the device model and iOS version too. Apple currently allows up to 100 registered devices per product family, per membership year; the allowance belongs to the developer team, rather than resetting for each app. We keep identifiers in the project’s private release records.
Apple’s registered-device guidance
3. Prepare signing for the group
The app’s bundle identifier, distribution certificate and ad hoc provisioning profile must agree. The profile includes the devices allowed to run that build. Xcode can manage signing assets automatically where the account and project permit it; we check the intended team, capabilities and included devices before exporting.
Adding a device in the developer portal does not update an IPA that has already been exported. We refresh the profile and export or re-sign a suitable archive again, then share the replacement build. Signing private keys and account credentials stay with the development team.
4. Build the right app against the right environment
We build from an agreed source revision and record the app version and build number. For an app with a shared web frontend, we first build those assets for the intended environment and synchronise them into the iOS project. Only then do we prepare the native archive.
This is an important distinction in our own mobile workflow: Xcode’s Debug or Release setting controls native compilation. It does not, by itself, switch the frontend to a staging API. We check the packaged configuration, connected services and visible environment label so a test build does not accidentally point at the wrong system.
We open the app’s Xcode workspace, select the correct scheme and a physical-device destination, and choose Product Archive using the intended Release configuration. A simulator build is not the package we distribute to reviewers’ phones.
5. Export and check the signed IPA
In Xcode’s Organizer, we select the archive and choose Distribute App, using the registered-device release-testing route. Depending on the Xcode version, this appears as Release Testing or an Ad Hoc option under custom distribution. The important check is the exported signing method and profile, rather than relying on the button’s wording.
We export the signed IPA, confirm the intended devices are included and install it on a registered physical device. The smoke test covers launch, sign-in, the target workflow and the expected backend connection. We retain the archive and debug symbols so a later report can be investigated against the exact build.
Apple’s archive and distribution guidance
6. Create the Diawi handover
We upload the checked IPA to Diawi and create an installation link for the review group. We use password protection and set the available link controls to suit the review window. The message identifies the app, version, environment, changes and anything the tester should avoid.
Diawi hosts the package and simplifies delivery. Apple’s signing rules still determine which devices can run it. Forwarding the link to someone whose device is absent from the embedded profile will not give them access. A link’s availability and a provisioning profile’s validity are separate: re-uploading an old IPA does not renew its signing.
Diawi’s upload and sharing guide
7. Help testers install and get started
The tester opens the link in Safari on the registered iPhone or iPad, enters the password if required and follows the Install prompt. We ask them to use Safari directly rather than an embedded browser inside email or messaging. Installation continues in the background; the app may appear on the Home Screen or in the App Library.
We provide any device-security steps required for the particular build. Where iOS requires Developer Mode, that involves enabling it in Settings Privacy & Security, restarting and confirming the change. The first launch should have an internet connection so signing can be checked. Test accounts and a short getting-started note complete the handover.
Diawi’s iOS browser compatibility guidance
Apple’s Developer Mode guidance
8. Turn feedback into the next build
We ask for enough context to reproduce an issue: build number, device and iOS version, the steps taken, expected behaviour and what happened instead. A screenshot or short recording helps, with personal or customer information removed. Where the app includes a reporting or diagnostic tool, we use that evidence alongside the tester’s description.
Feedback becomes a tracked item with a clear priority. We distinguish installation problems, app defects and new ideas, then agree the next changes and issue a new identified build. Reviewers receive a short summary of what changed and which journeys need another look. Installing a test build is a review milestone; approving a production release remains a separate decision.
If an installation does not work
We check delivery and signing before treating an installation failure as a product defect. If an App Store copy uses the same bundle identifier, it can also interfere with the test installation. We confirm the safe route with the tester before removing anything, because deleting an app can remove locally stored work.
- Open the current link in Safari and confirm it is still available.
- Check that the device’s UDID is in the profile embedded in this exact IPA.
- Check profile validity, device compatibility, free storage and network restrictions.
- Check the required device-security settings and first-launch connectivity.
- Confirm the installed build and report the failure to the team before repeatedly reinstalling.
Diawi’s installation troubleshooting guide
When we move the group to TestFlight
Xcode and Diawi work well for a small, known group with a clear review purpose. As the audience grows or changes frequently, collecting device identifiers and refreshing profiles creates more administration. TestFlight provides a different route through App Store Connect, with tester invitations and update distribution without registering each device’s UDID. External testing can involve Apple’s beta review process.
We choose the route around the project’s stage and the people testing it. For a focused early review, a private device-specific build can be practical. For a longer or broader beta programme, TestFlight is often the better next step. Both work best when the build, feedback and release decision stay connected.
Make the review part of delivery
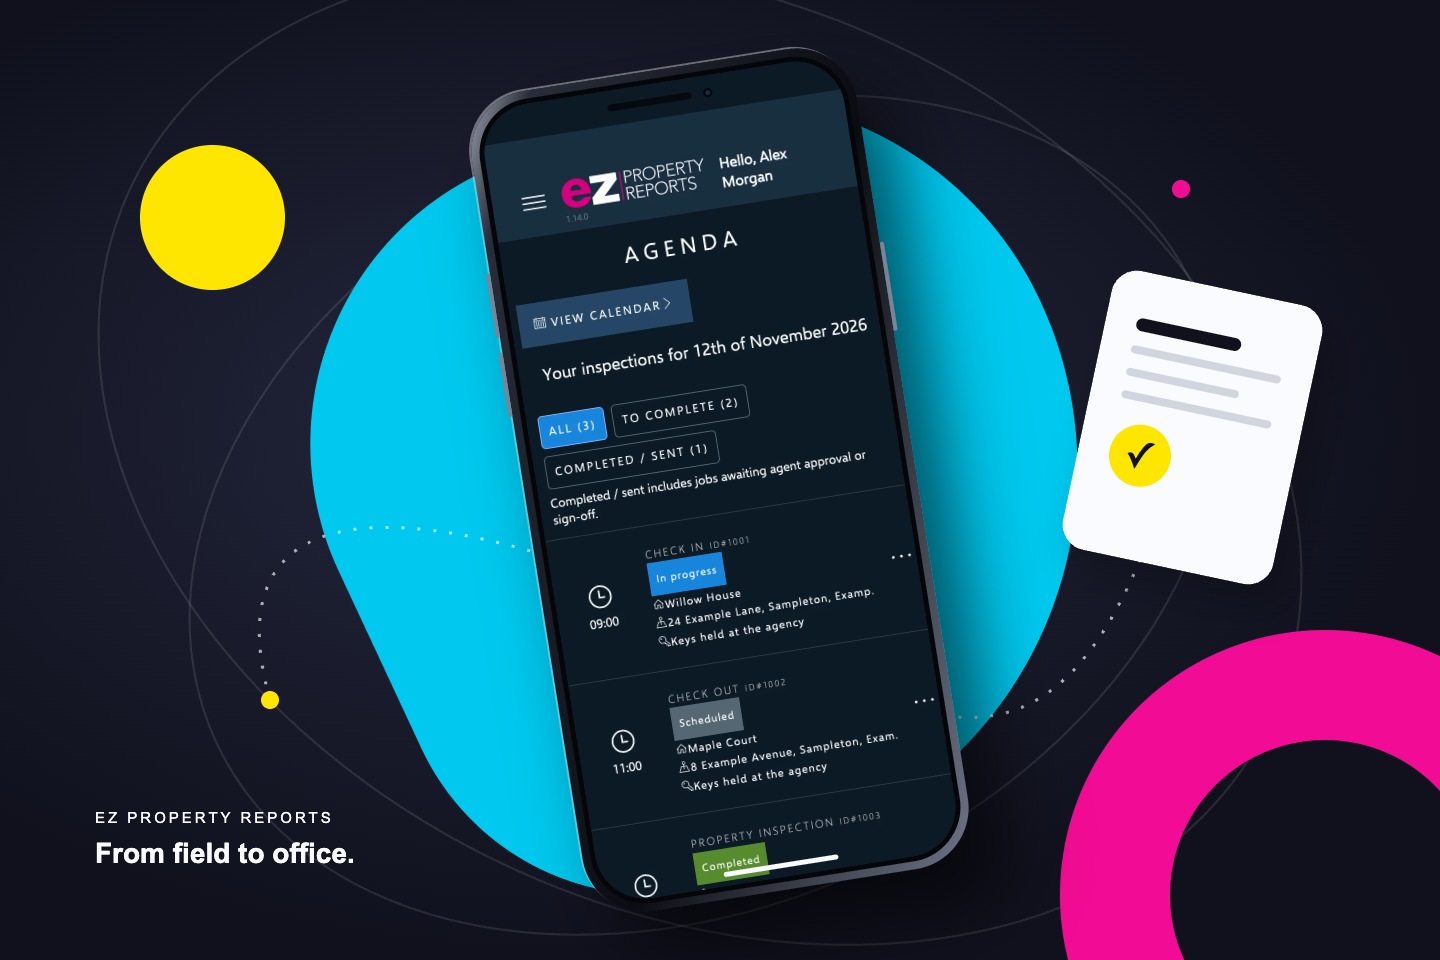
Our work on mobile reporting experiences such as EZ Property Reports connects an app to the wider operation: saved work, photographs, synchronisation and backend records. Real-device review helps us evaluate that complete journey, alongside the interface.
The handover should give the client a clear answer to three questions: what am I testing, how do I get it, and where does my feedback go? That is how a build becomes a useful part of the next product decision.